Between Foundation and Framing
- Published on

The list of to-do’s before framing is complete. As mentioned last time, we had a few things to take care of between getting our foundation walls and being able to start framing on our home.
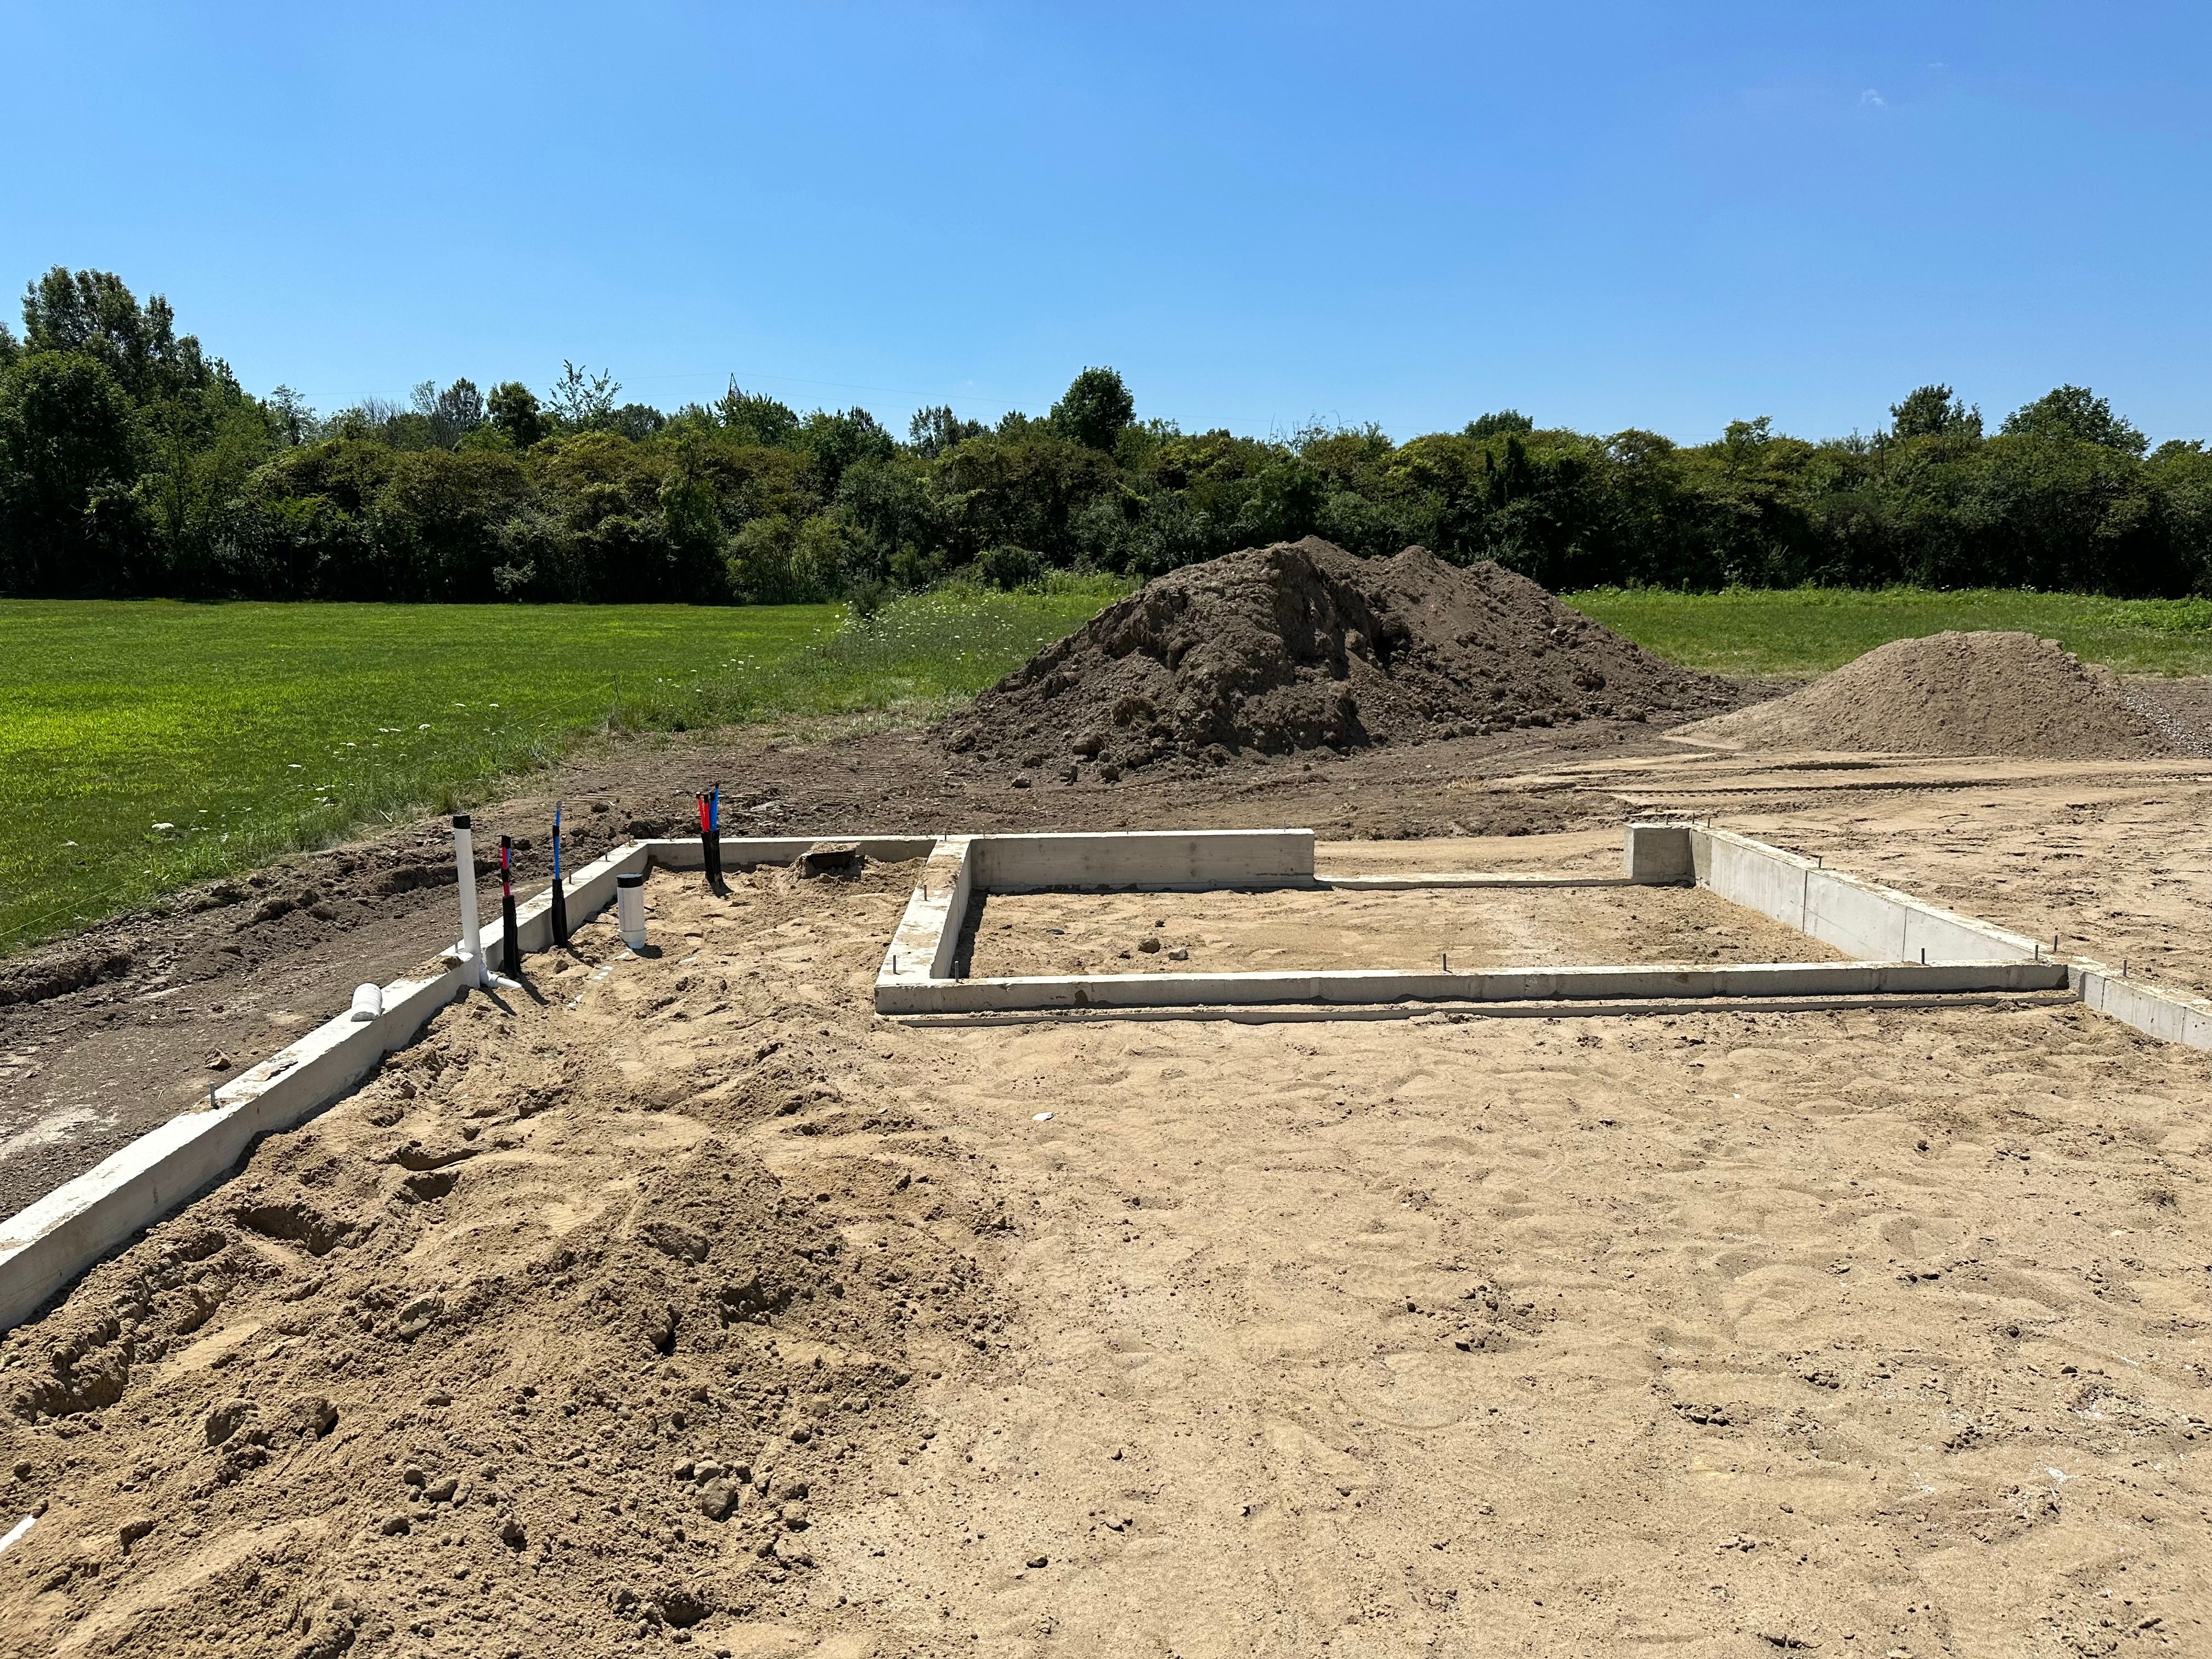
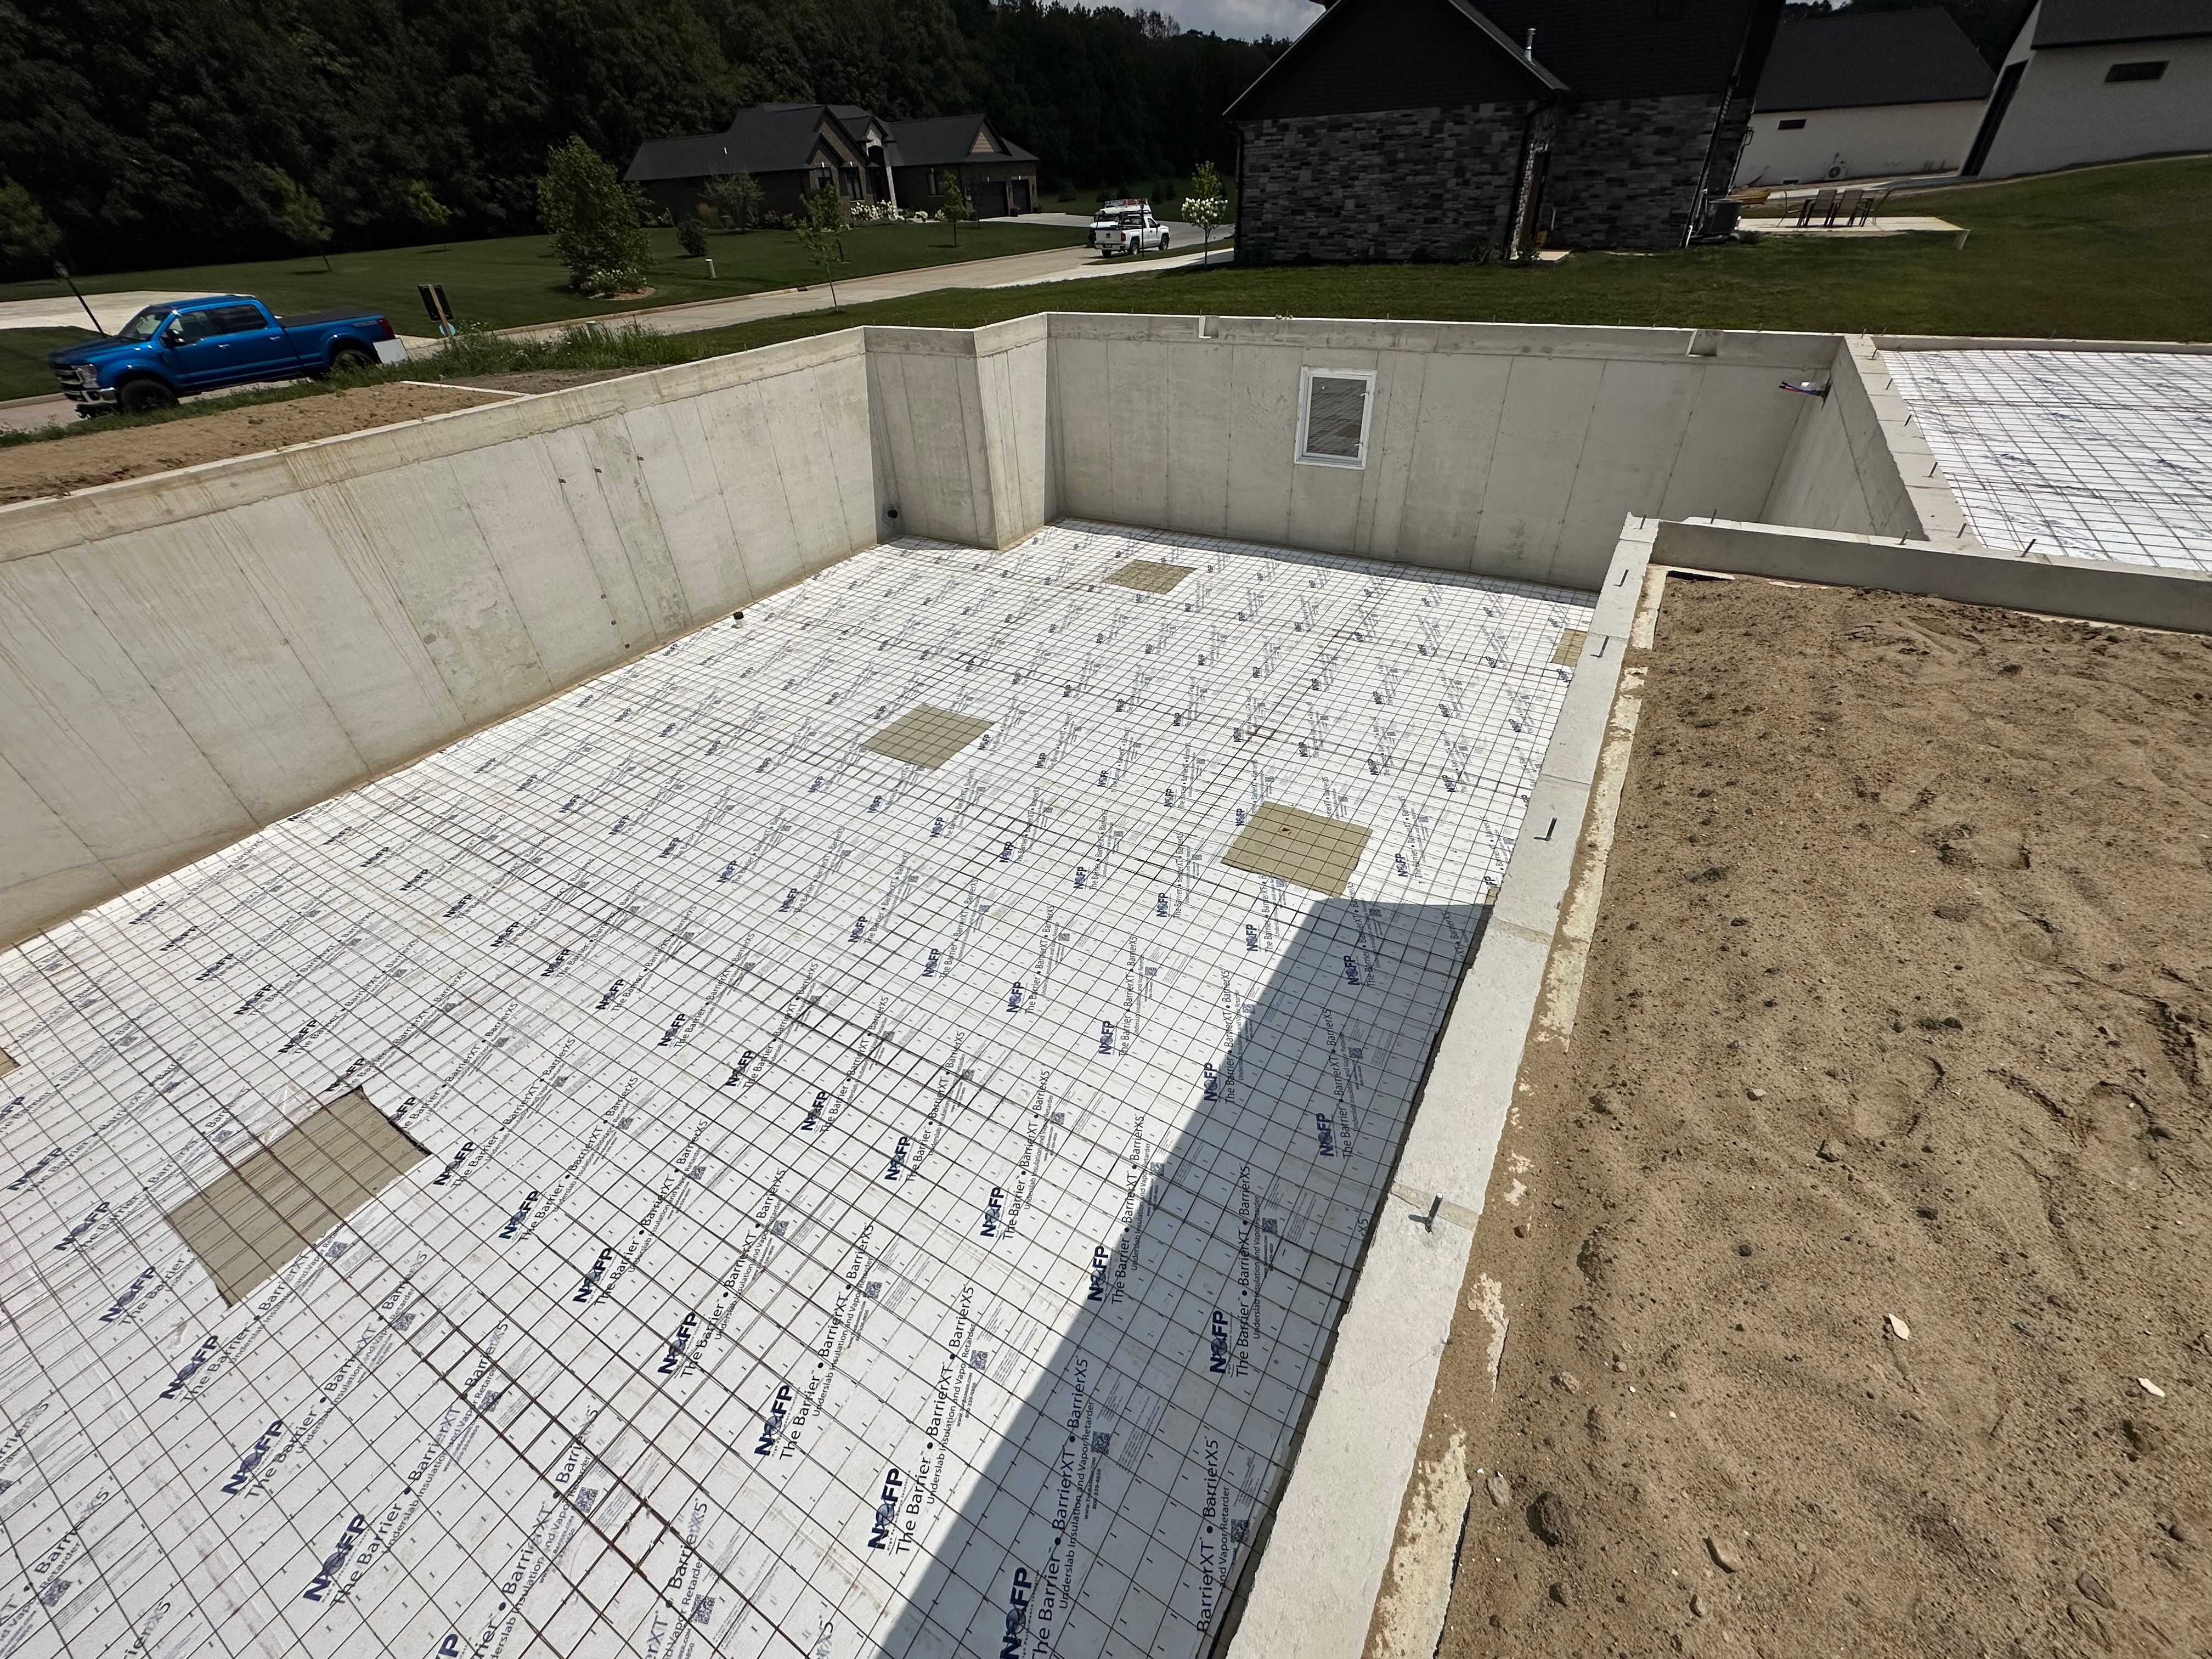
First, the excavator came back to backfill our foundation. We mentioned in an earlier post that when they dig the hole, they over-dig so it’s easier to do all the concrete work that goes into creating the foundation of the home. So once the concrete is able to cure for a couple weeks, they are able to put the dirt back in around the outside of the walls. This is actually a mix of dirt and sand. The sand is used because it helps create efficient drainage and also compacts well. When you’re backfilling, you want whatever is put back in between the dig-out and the foundation to compact as much as possible to help prevent settling in the future. Settling of the ground later on can result in foundational issues (cracks and whatnot). So you want to take proper steps to avoid that.
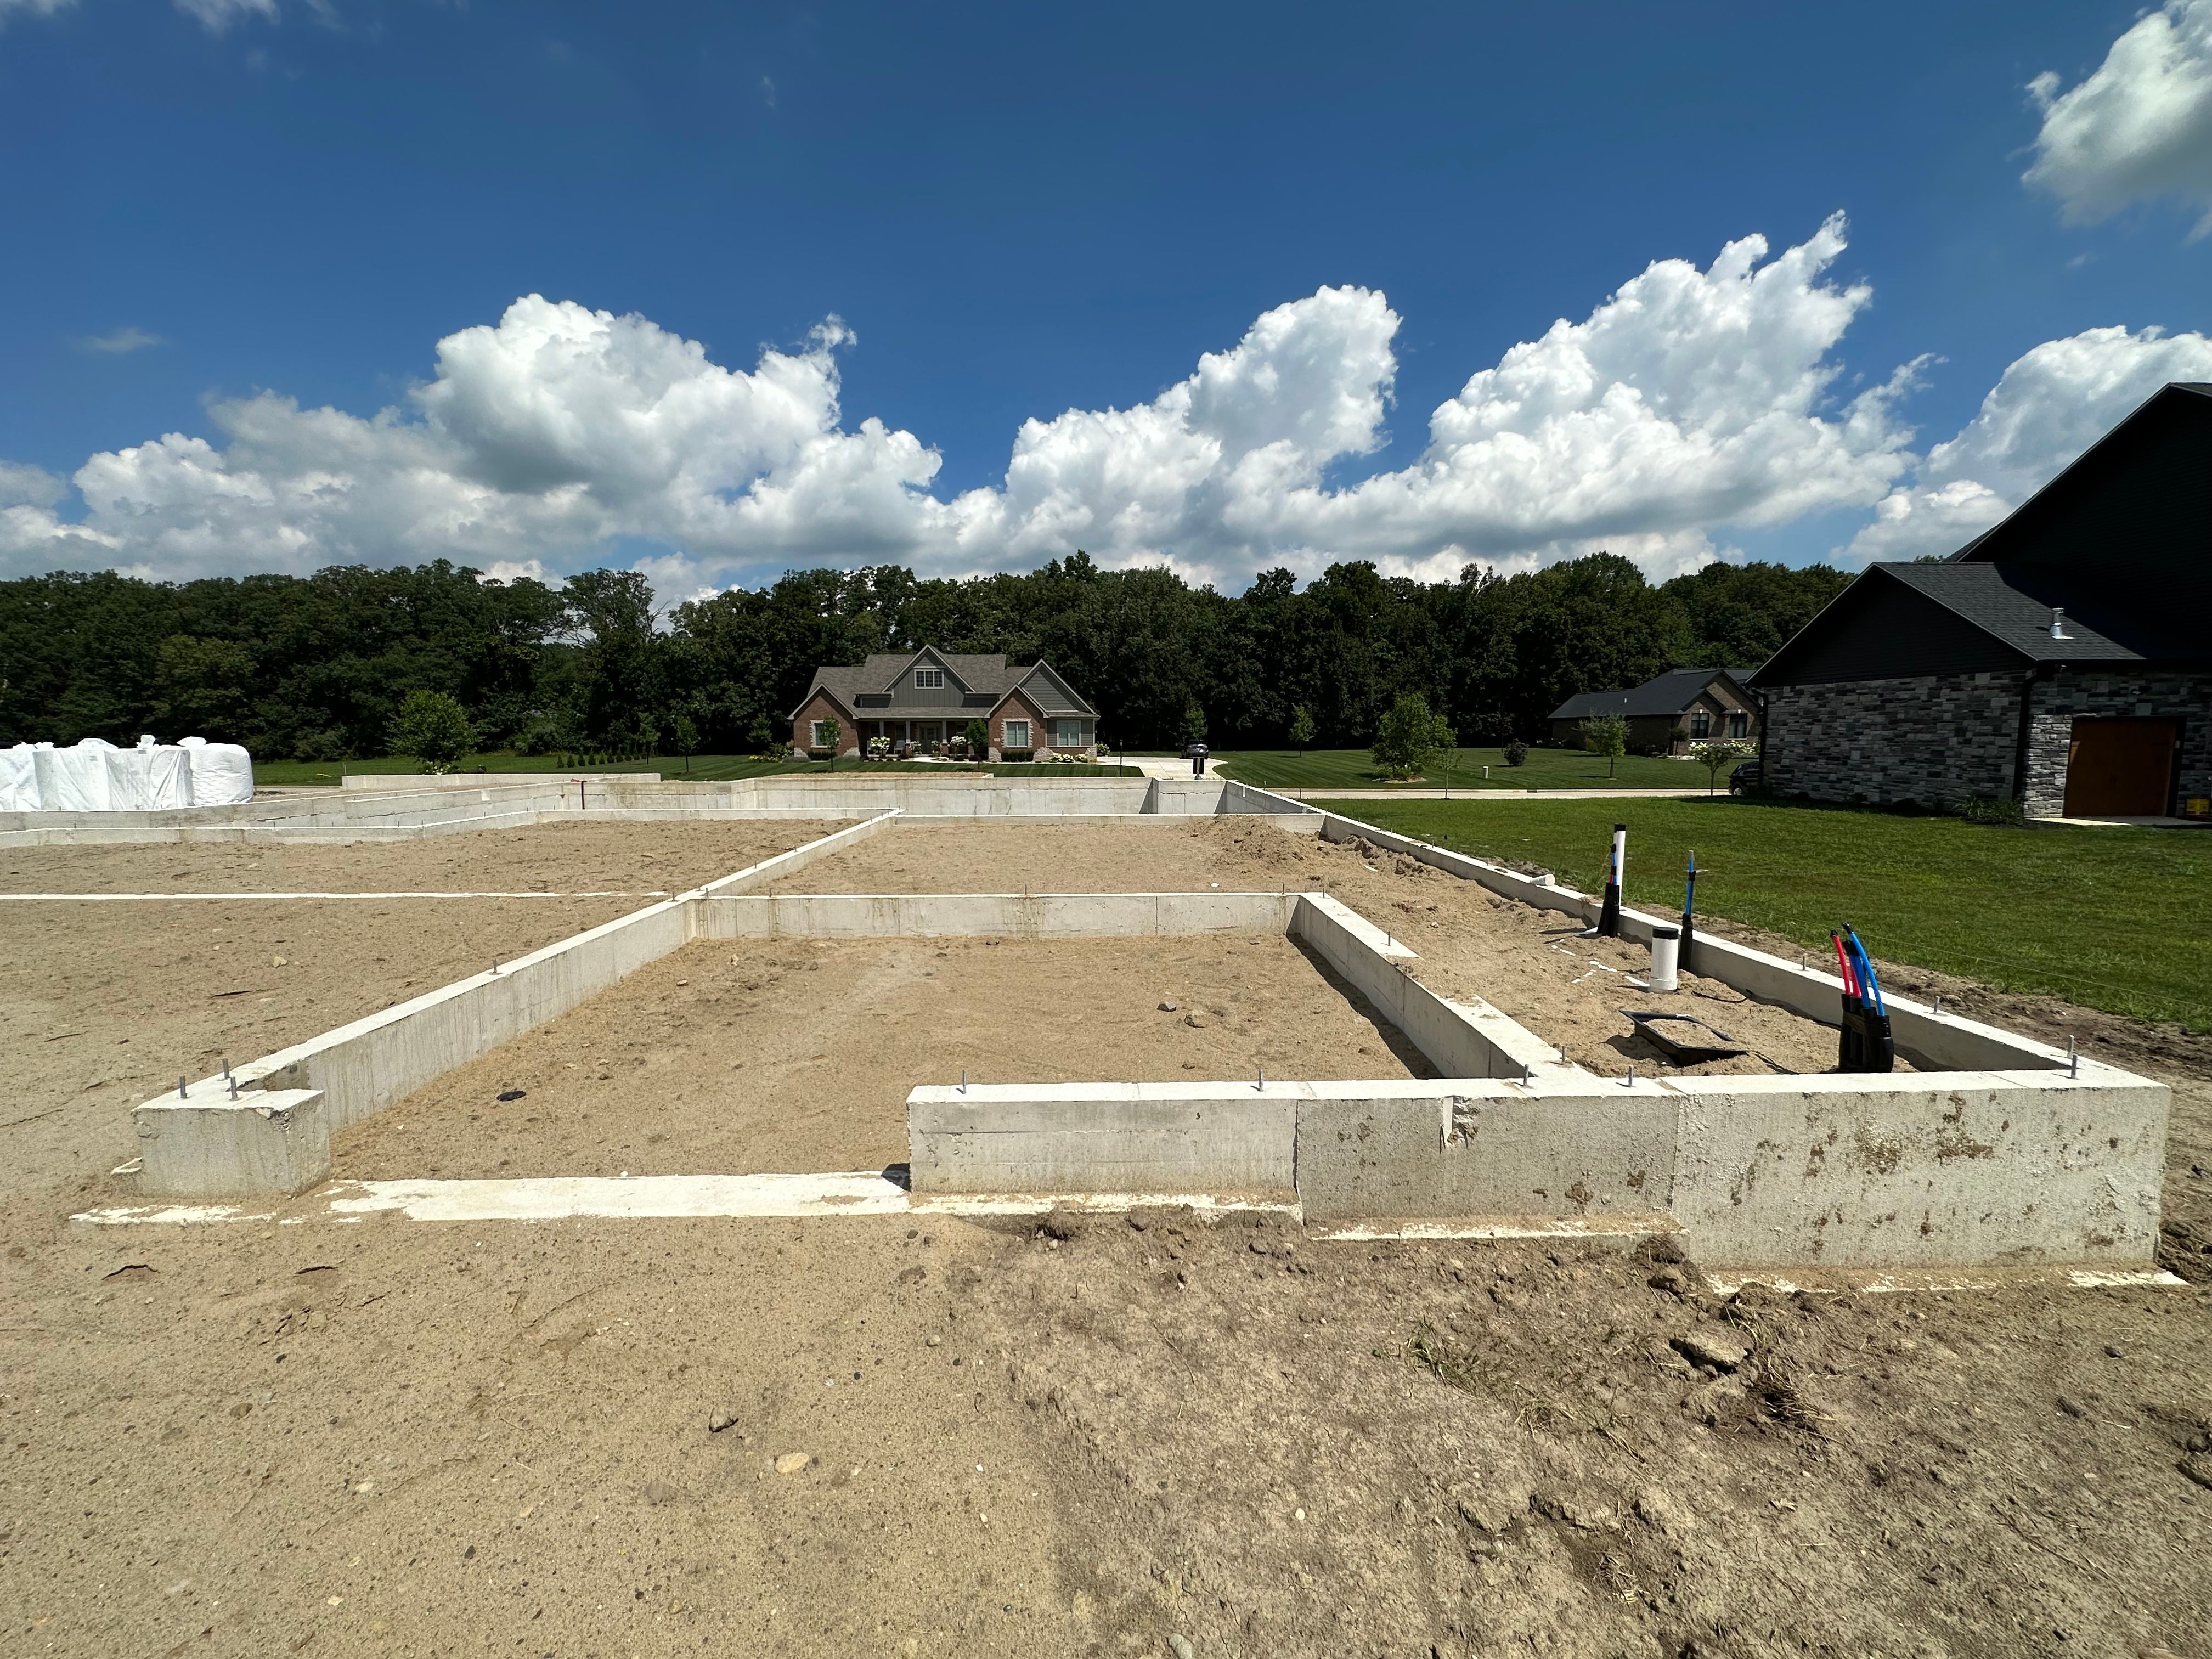
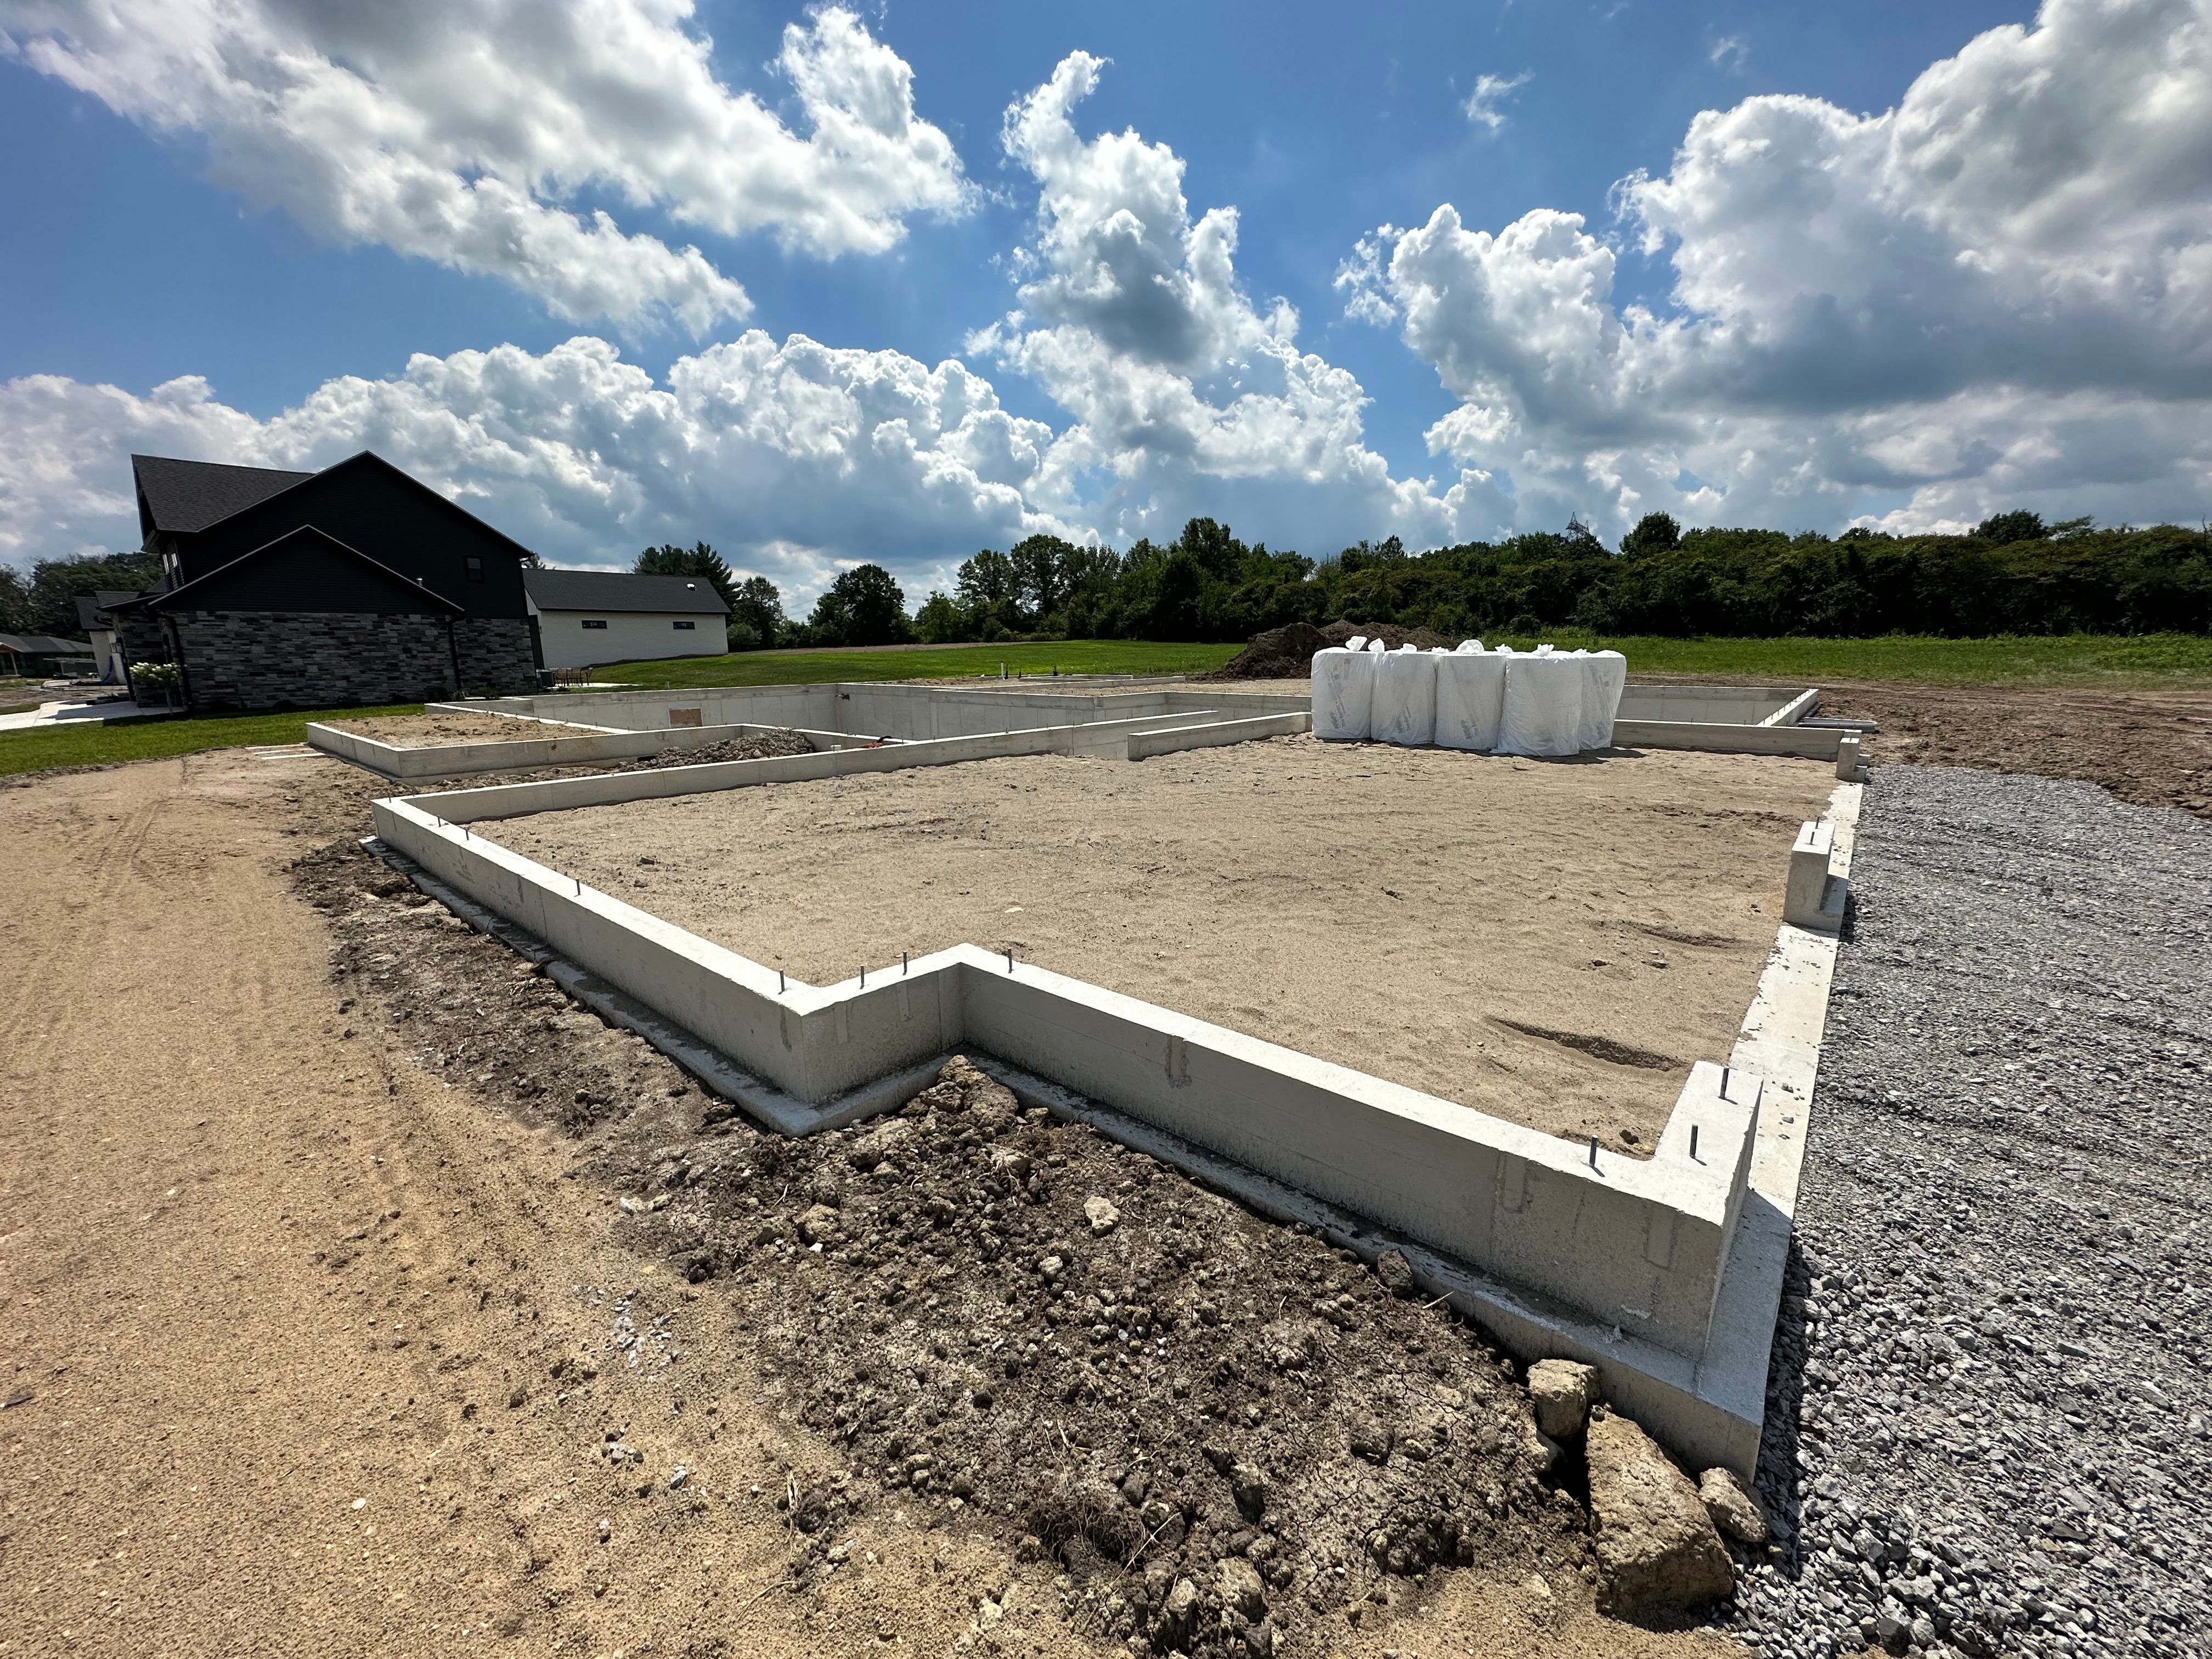
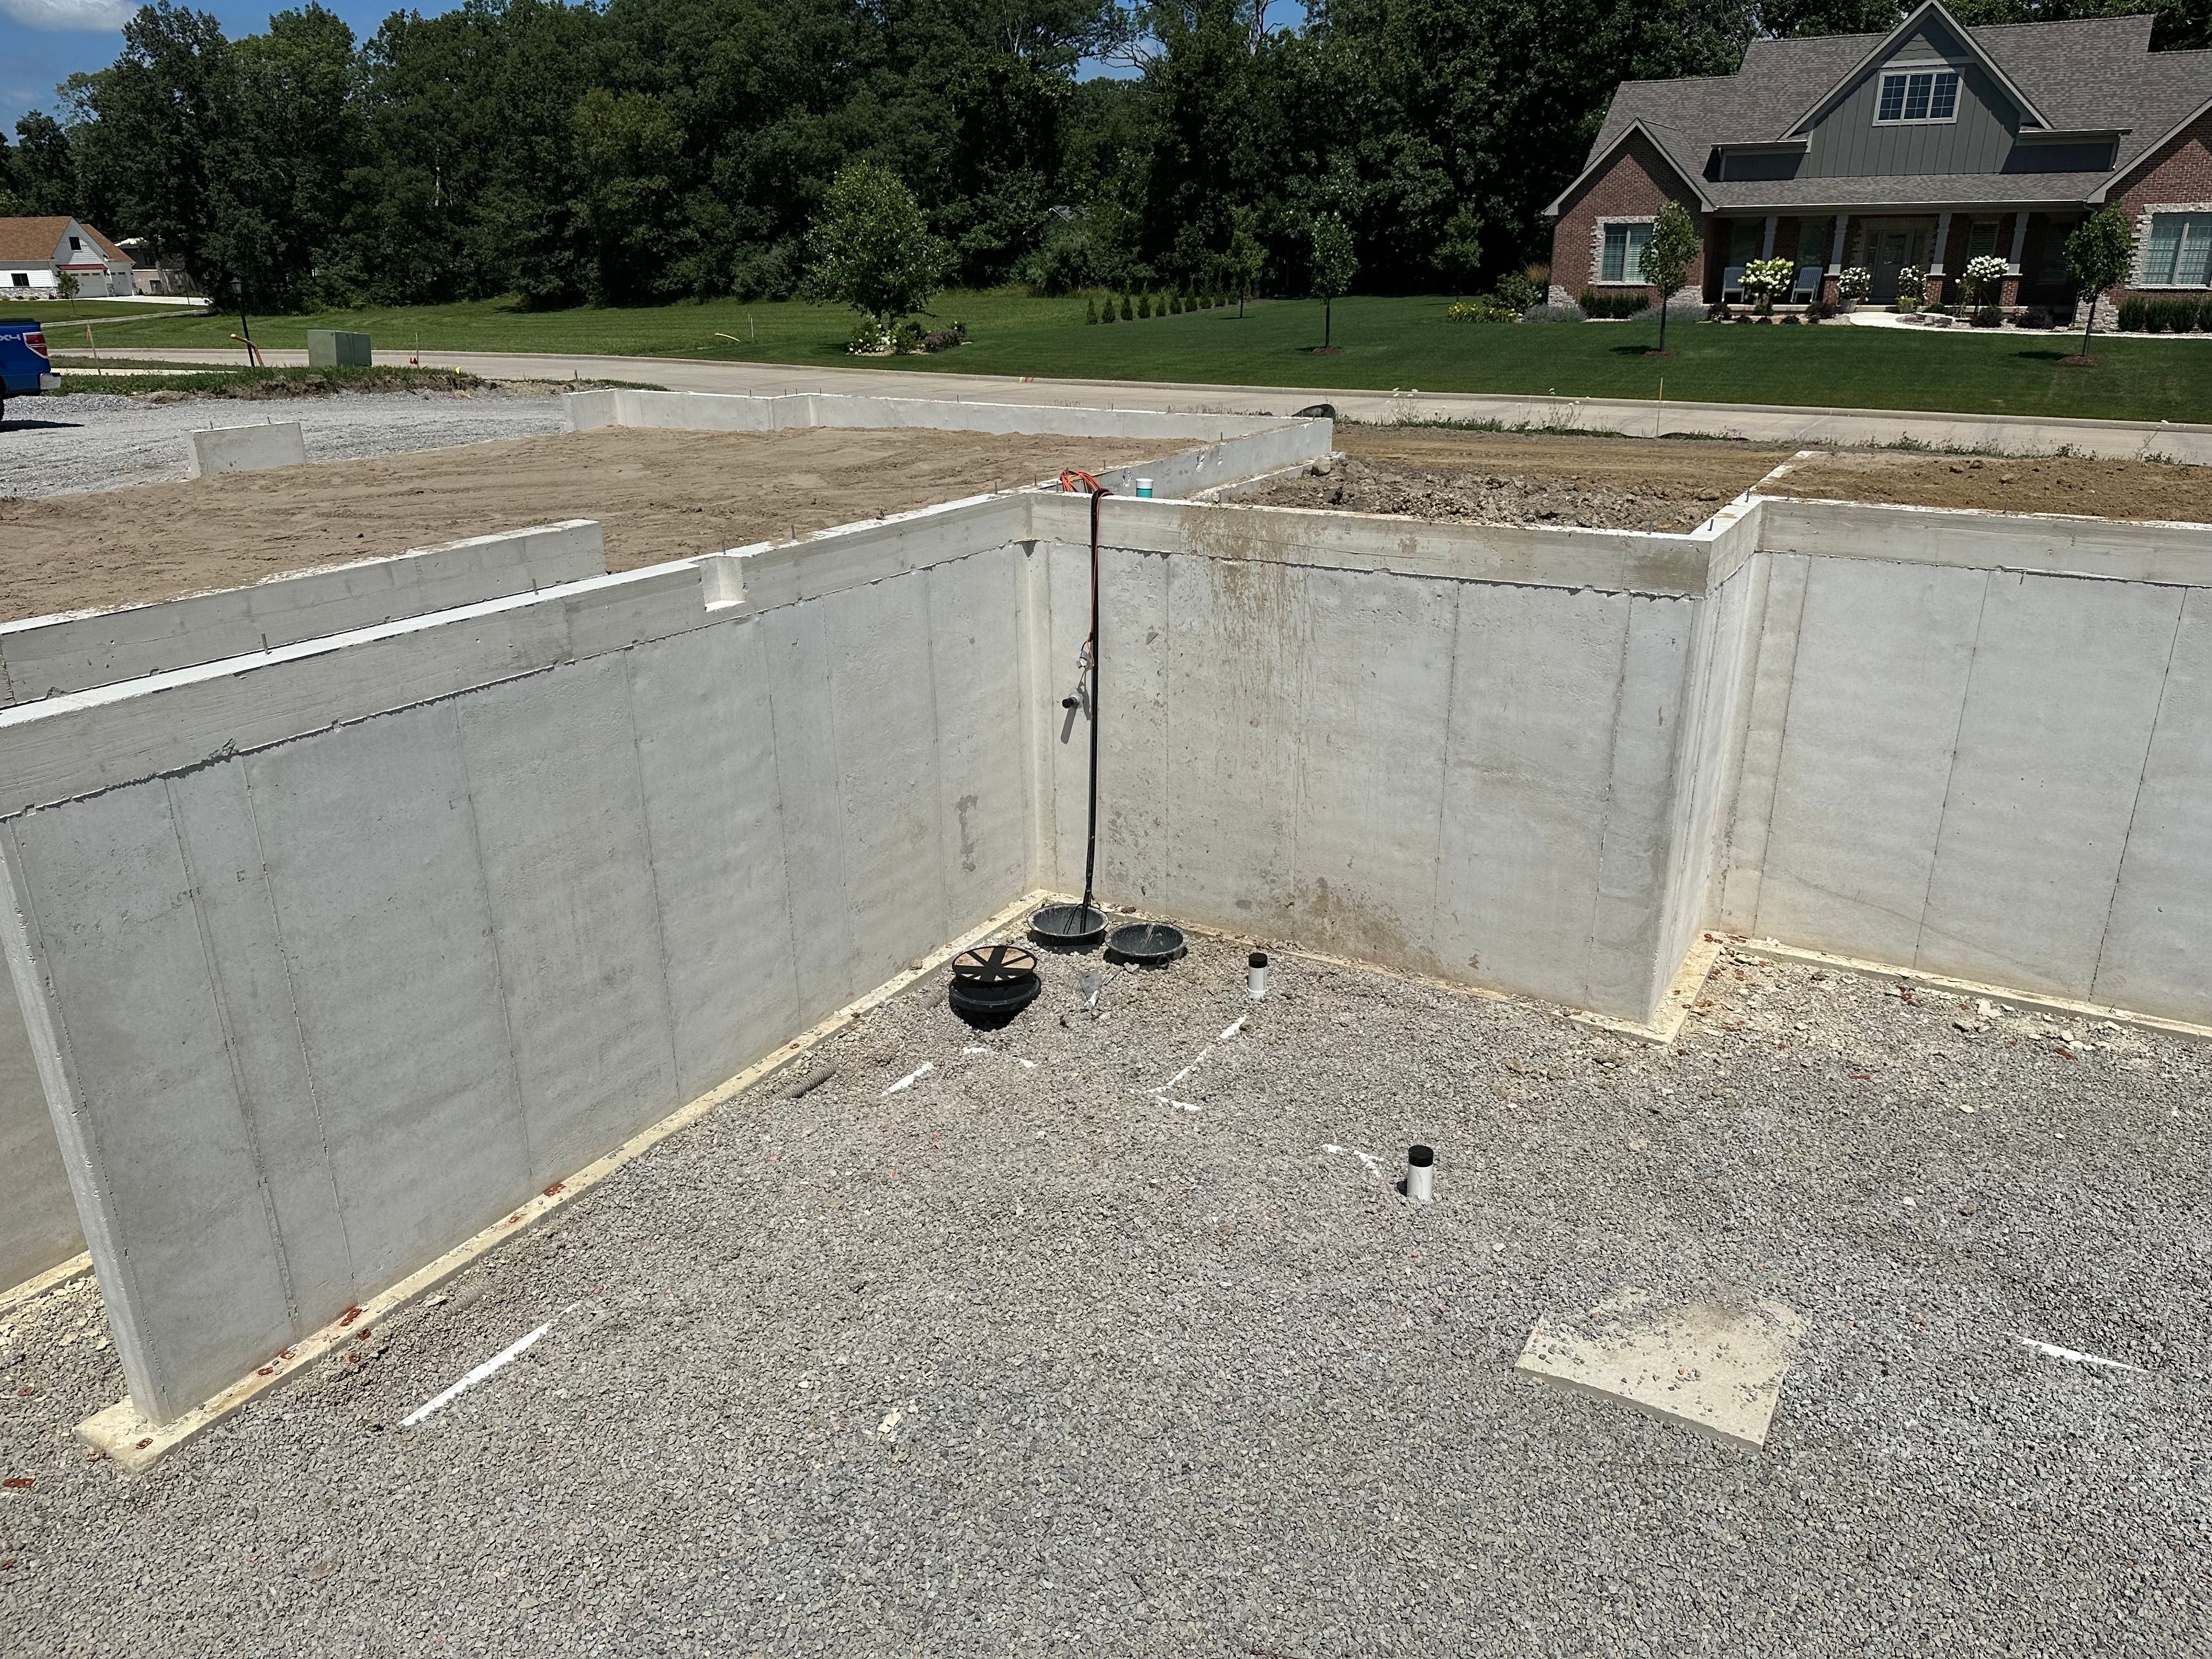
After backfill, we were able to have our underground plumbing installed. This includes things like an ejector pit, sump pump, and all rough-in plumbing needed for the basement and any concrete slab areas. While we were creating our floor plan, we had to discuss where we would want to put a bathroom in the basement if we ever decide to finish it out in the future. This is important because then you can have the plumbers run rough-ins under the basement slab and you won’t have to break up concrete later on to get plumbing where you need it. The plumbers also ran drains for the area that will have our furnace and water heater and such. One other area they had to run plumbing to at this point was the bathroom for our game room. The game room area is just going to be on a slab, so they had to prep that area before concrete is poured.
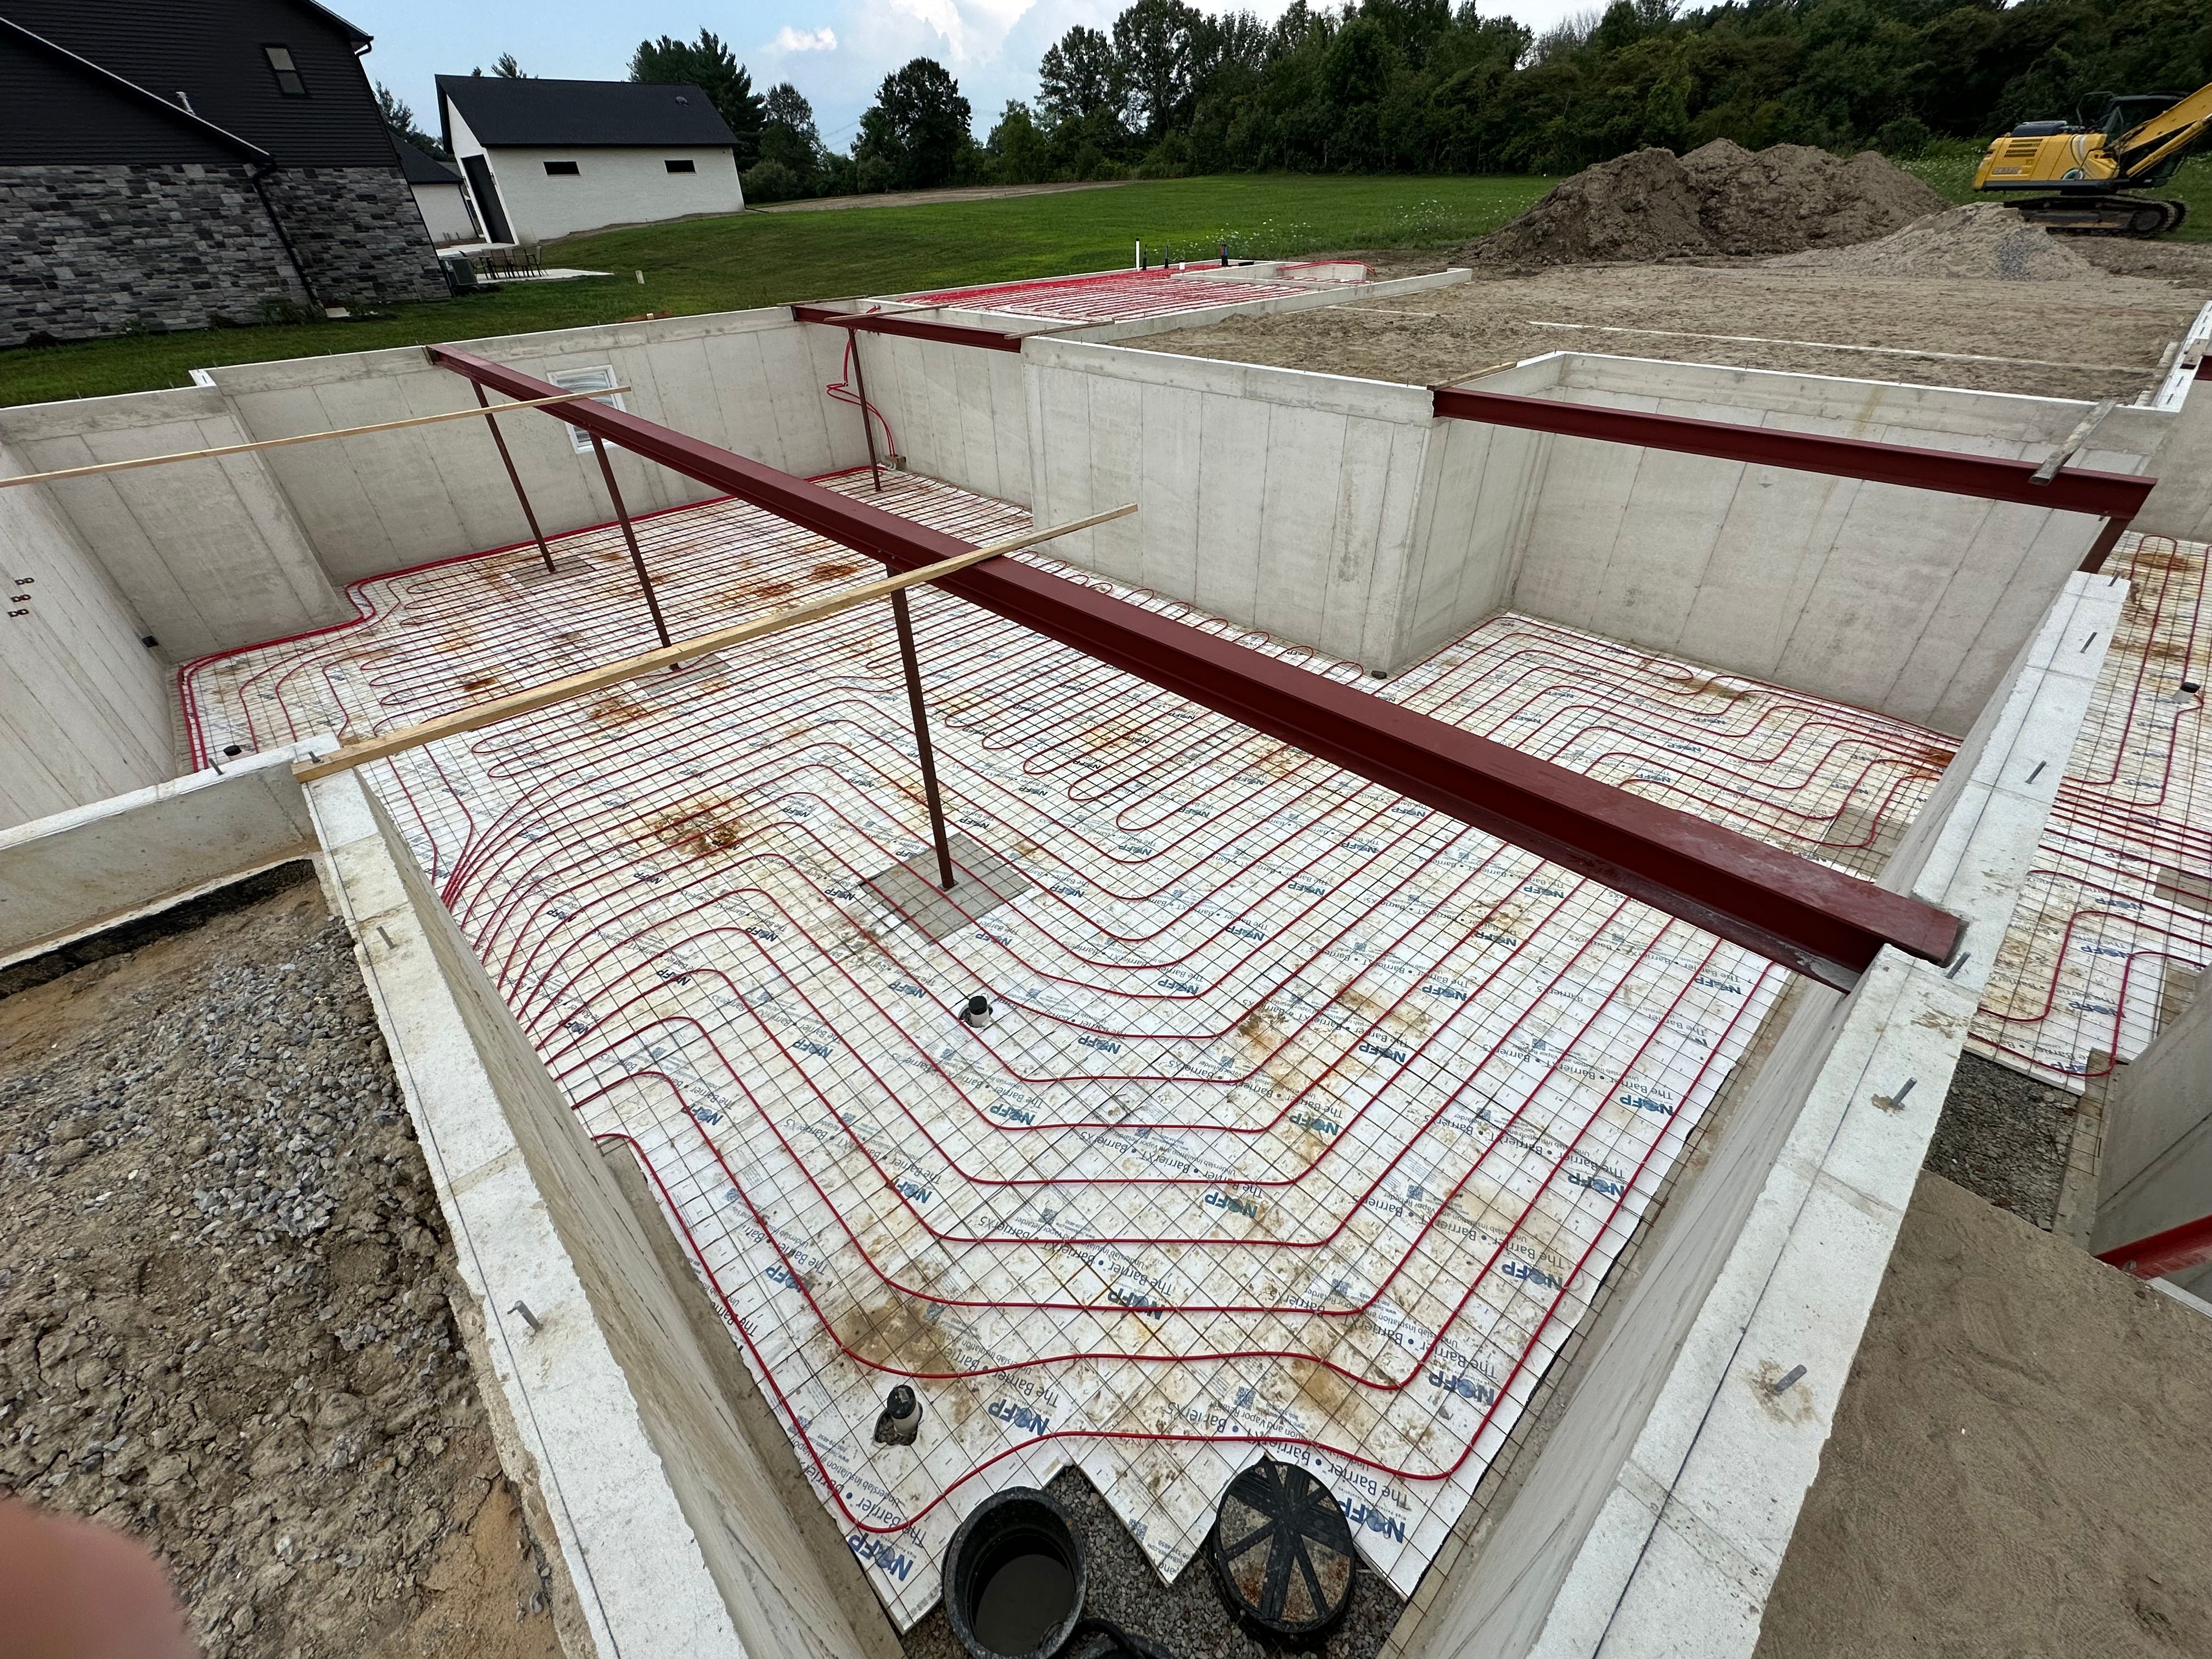
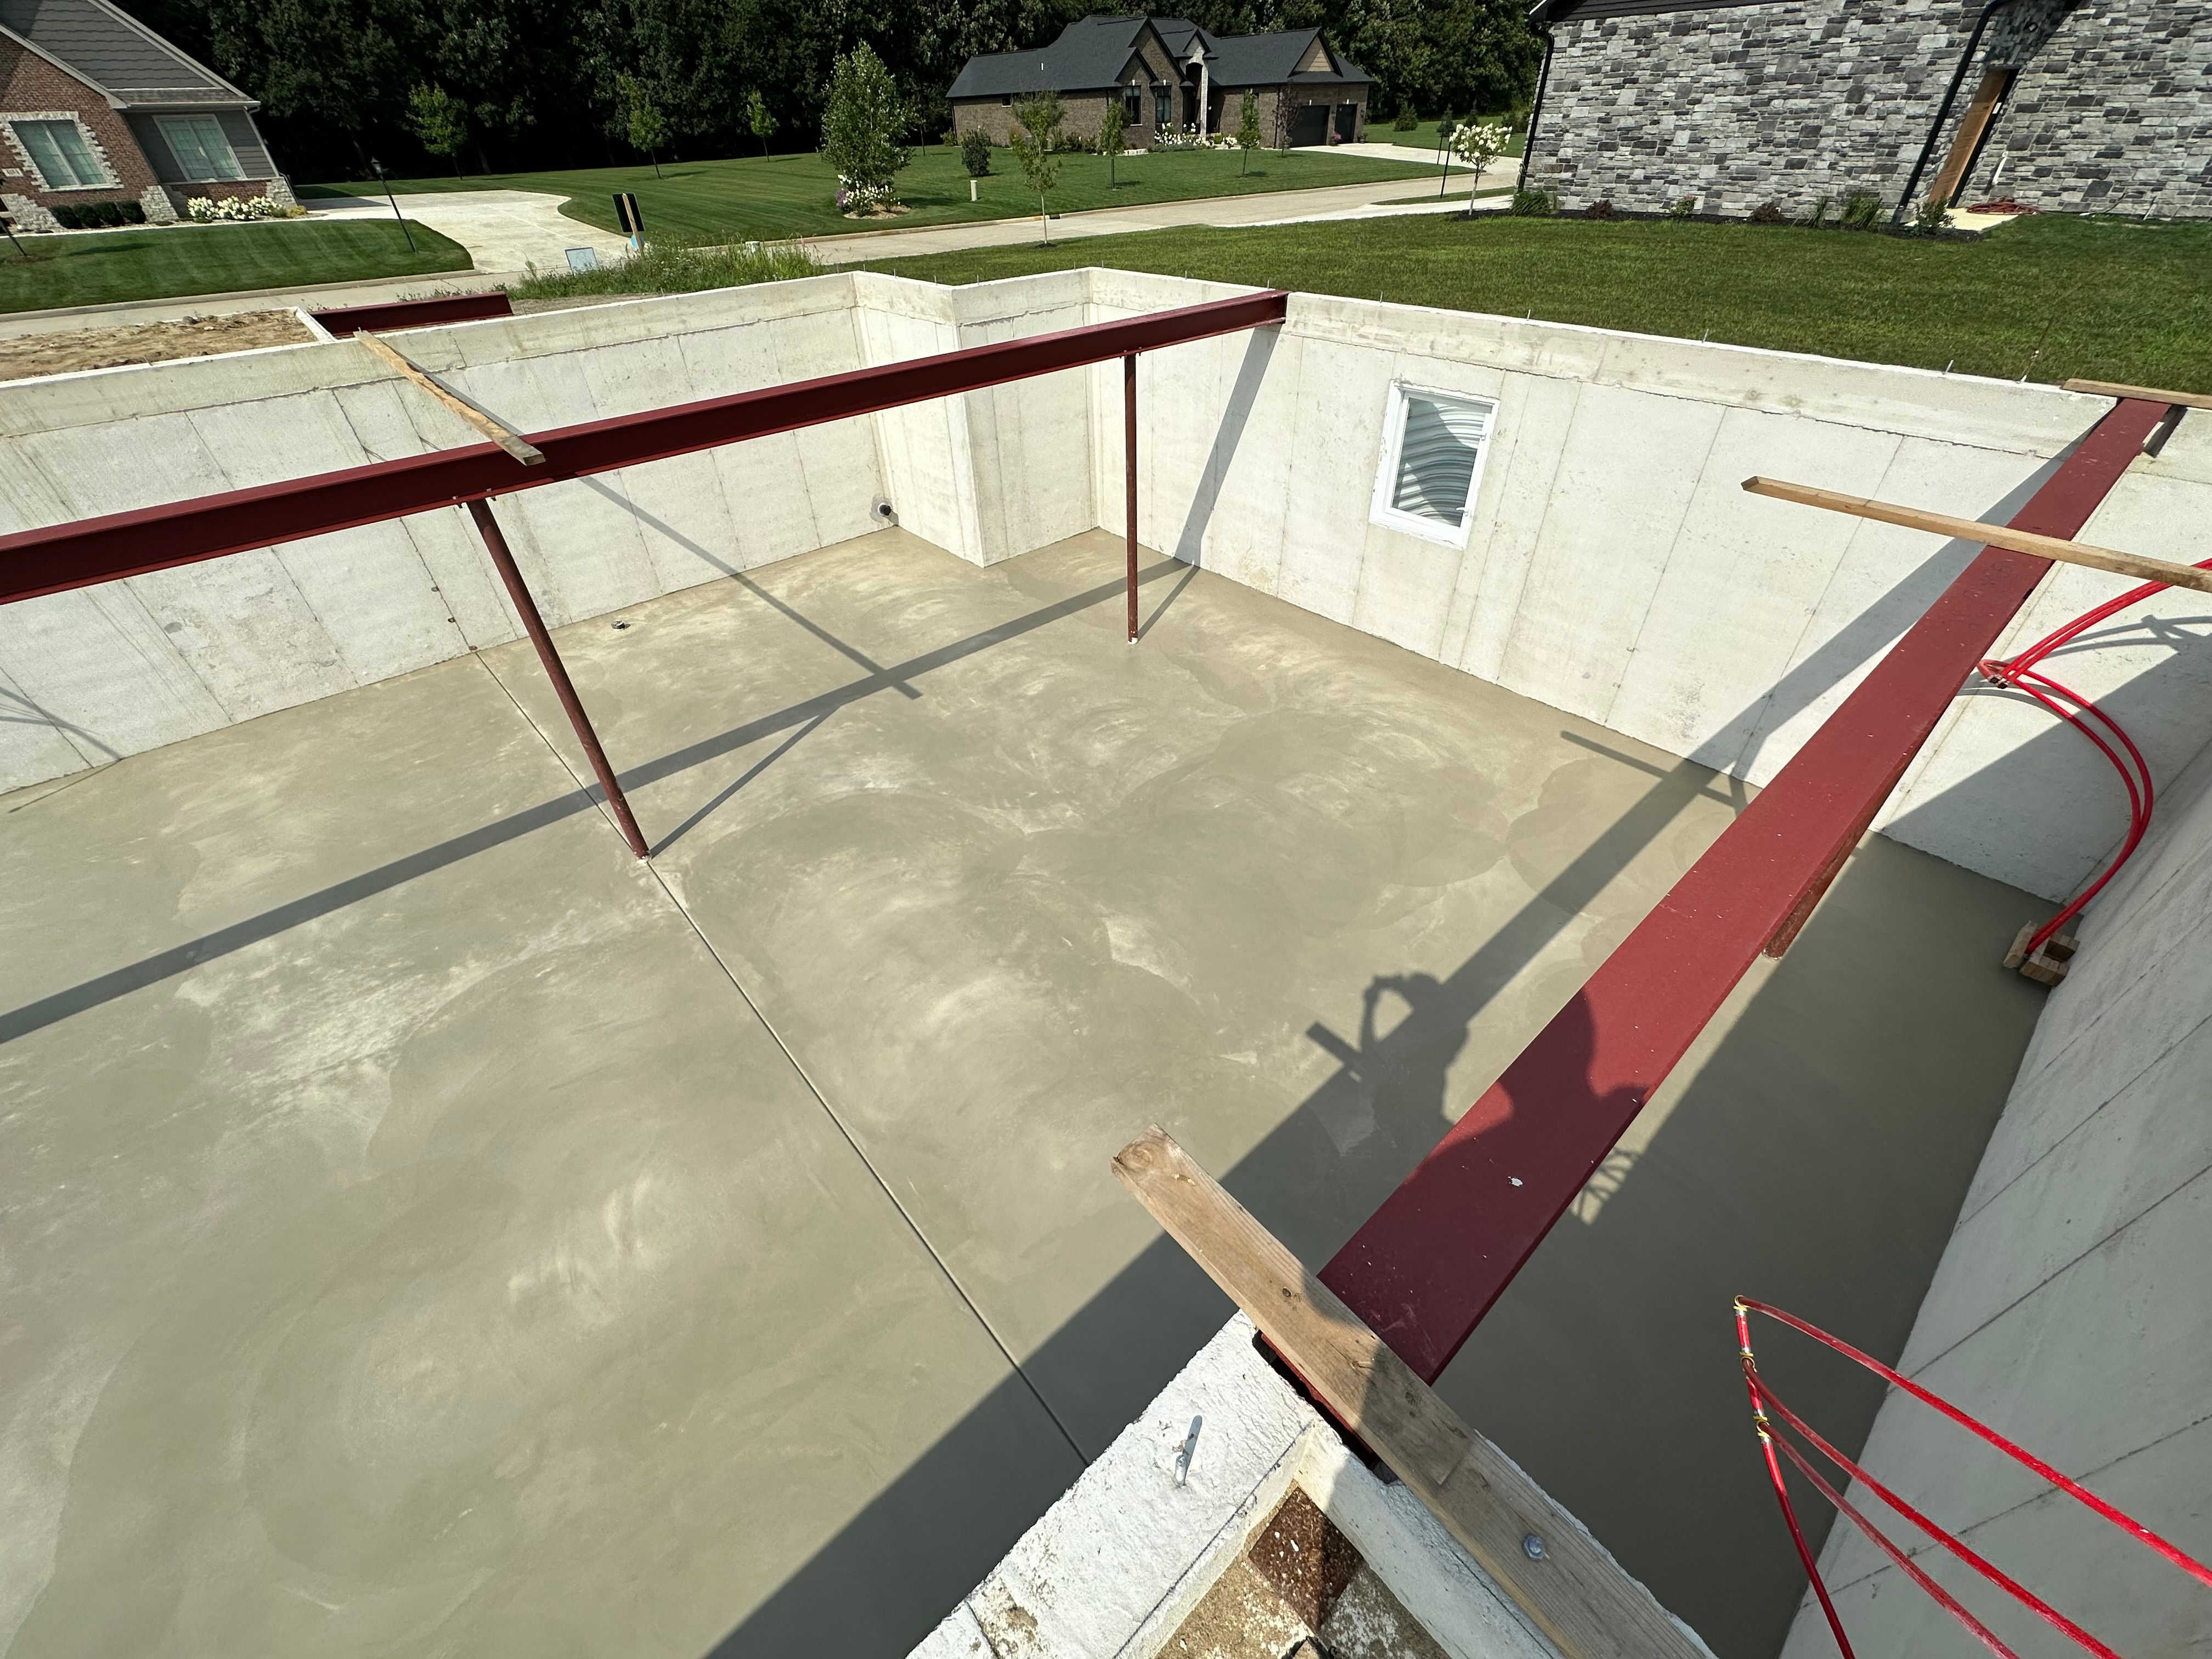
Next up we got our steel beams installed. These are pretty straightforward. Beams were included in the engineering of our blueprints to be sure our basement could bear the weight of the home. When it’s time, the beams simply get installed to plan.
Along with this we were able to have the tubing installed for the radiant heat we are putting in the basement and slab area. This is the under-floor heat we are putting in several areas throughout the home, so you’ll see this talked about many times throughout the build. Radiant heat is a great way to bring heat into a home. It’s very efficient and even heating. The tubing sits under the concrete in the basement or under the flooring in other parts of a home. Then, a boiler system is installed to run hot water through the tubes. So when the system is running, the hot water in the tubes is able to radiate (get it…’radiant heat’ 😉) through the floor to provide heat in the space.
These were the final things to be done before the basement slab and other slab area could be poured. So after install, we were able to have the concrete company come back and pour the slabs. Again, pretty straightforward like the beams. Everything was poured to plan from our prints.
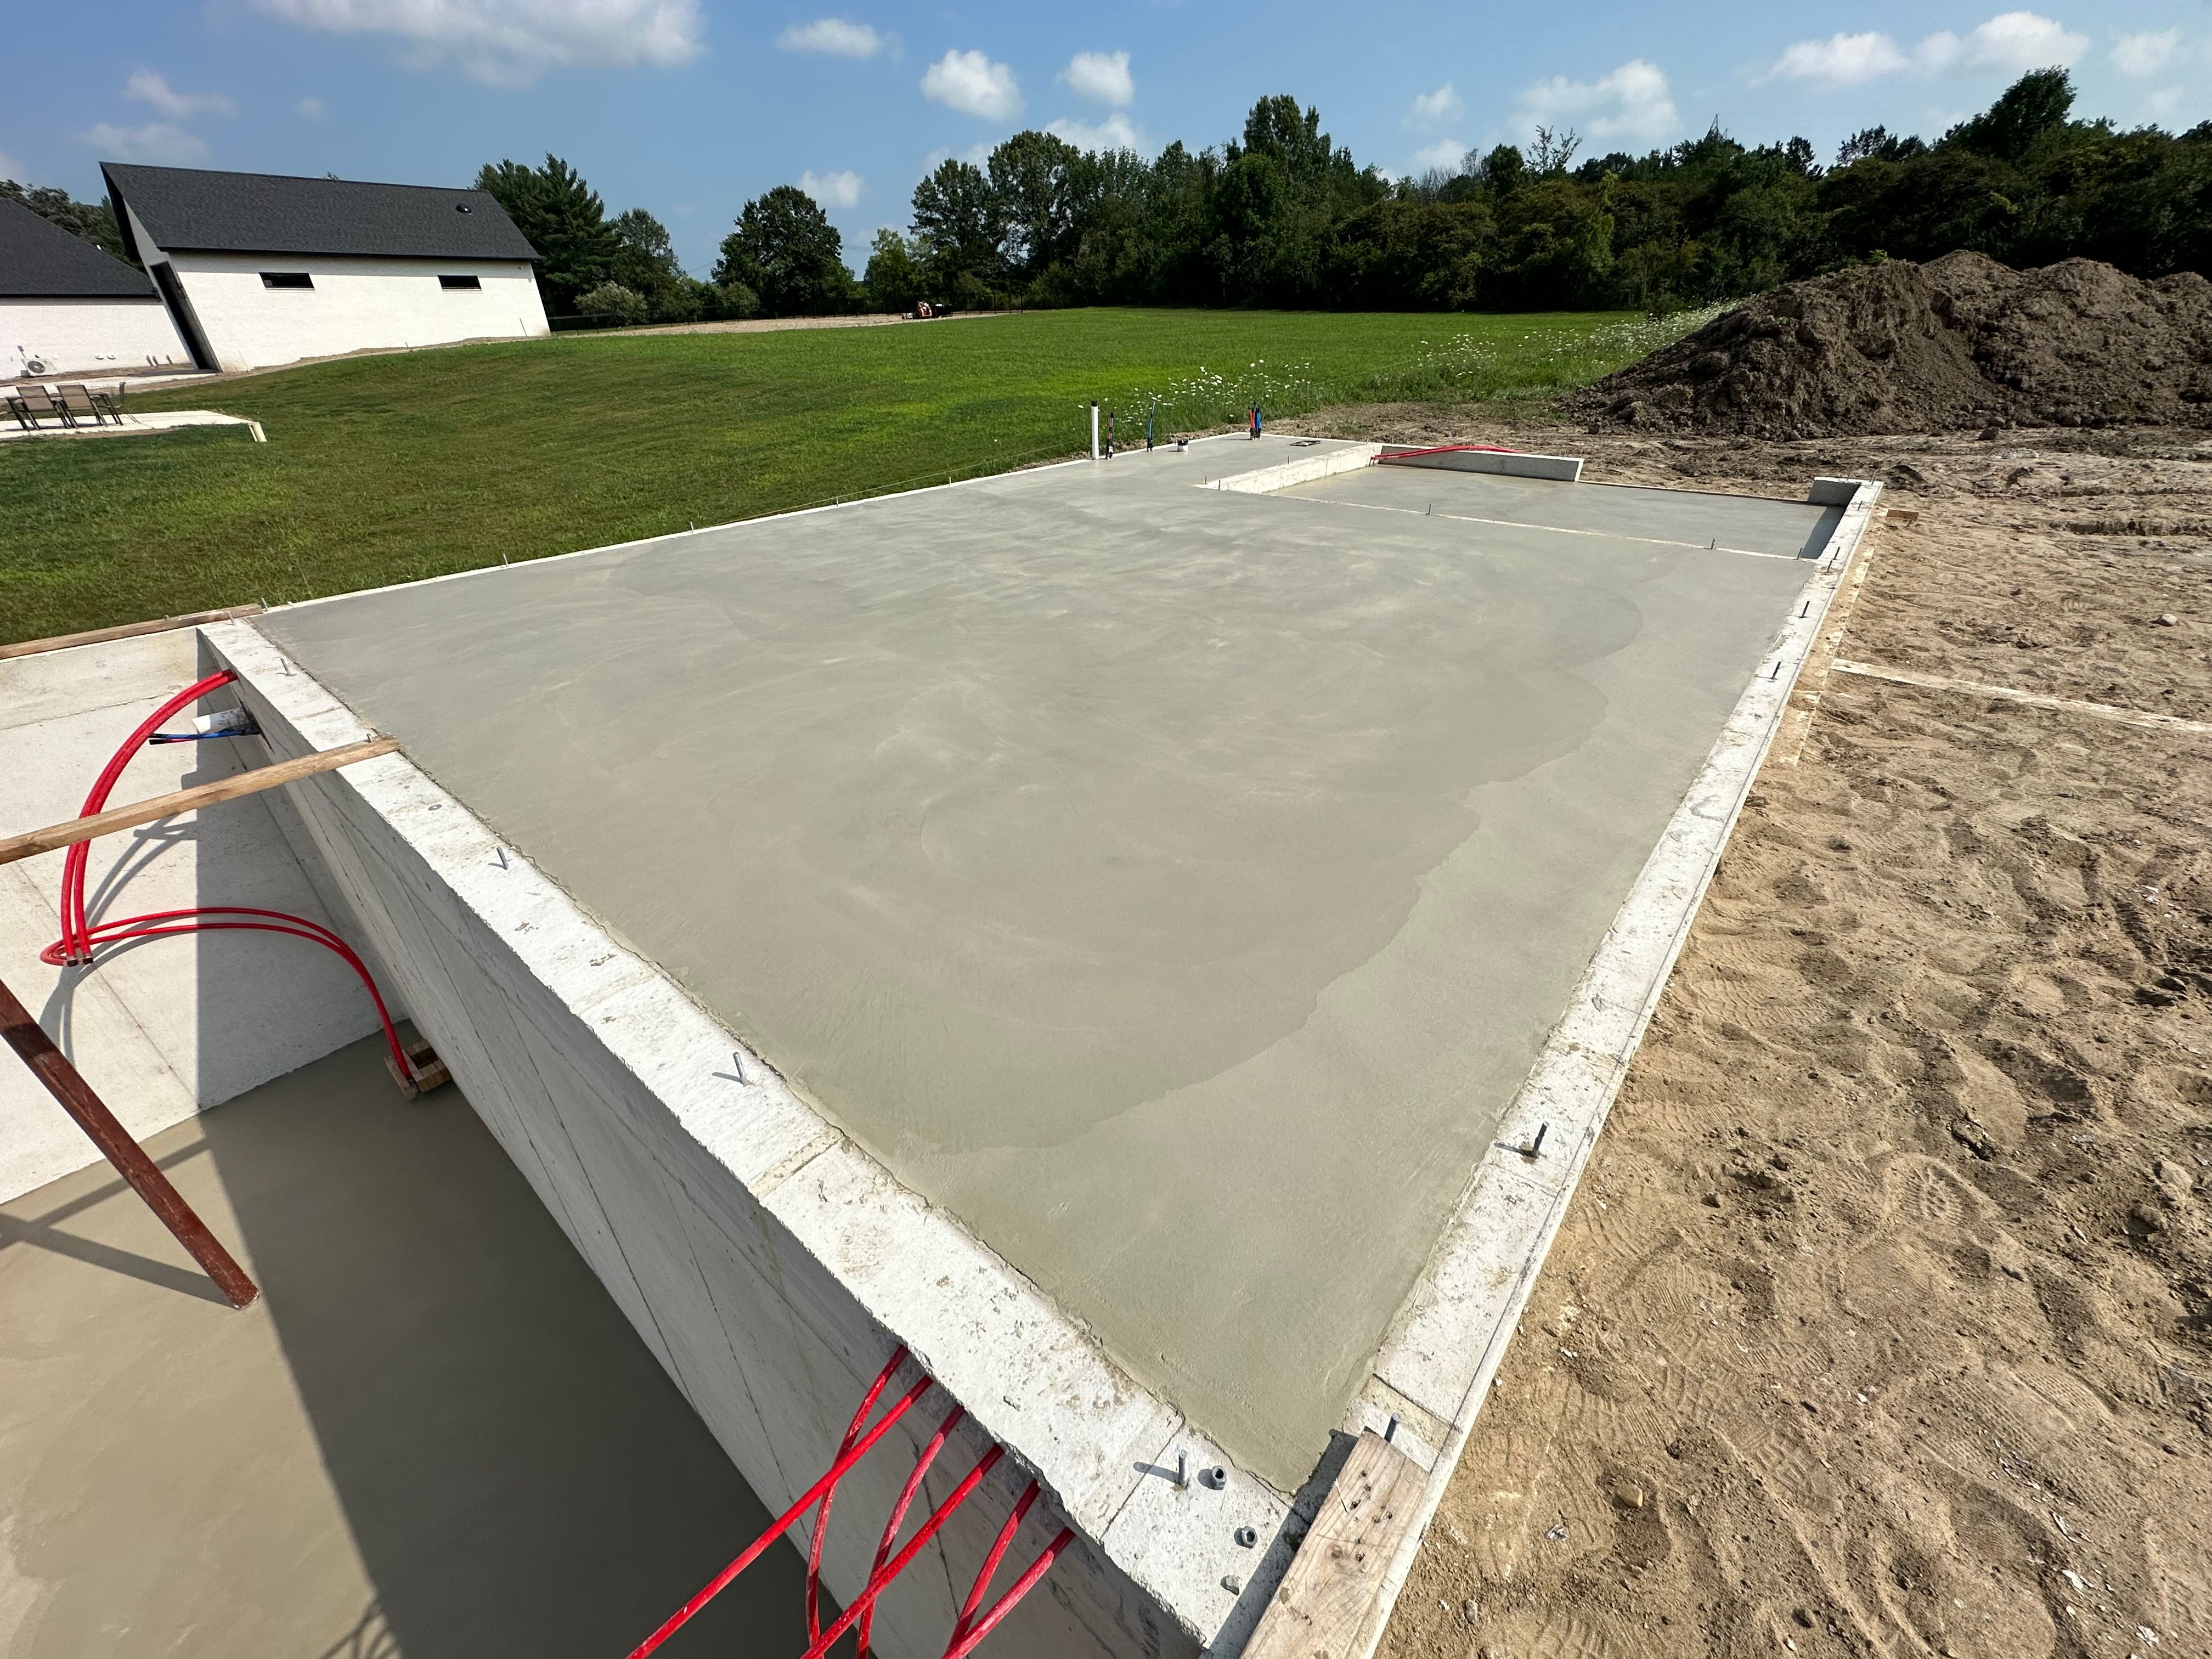
Now we are ready for framing! We do have to wait a couple weeks for the framer we hired to finish up another job so he can start ours. We are so excited to truly start to see this home take shape. We know this part of it wasn’t very exciting for the masses, but we have loved seeing every little thing happen because we know it’s just one step closer to our end goal. We can’t wait to share next steps, so stay tuned! ☺️